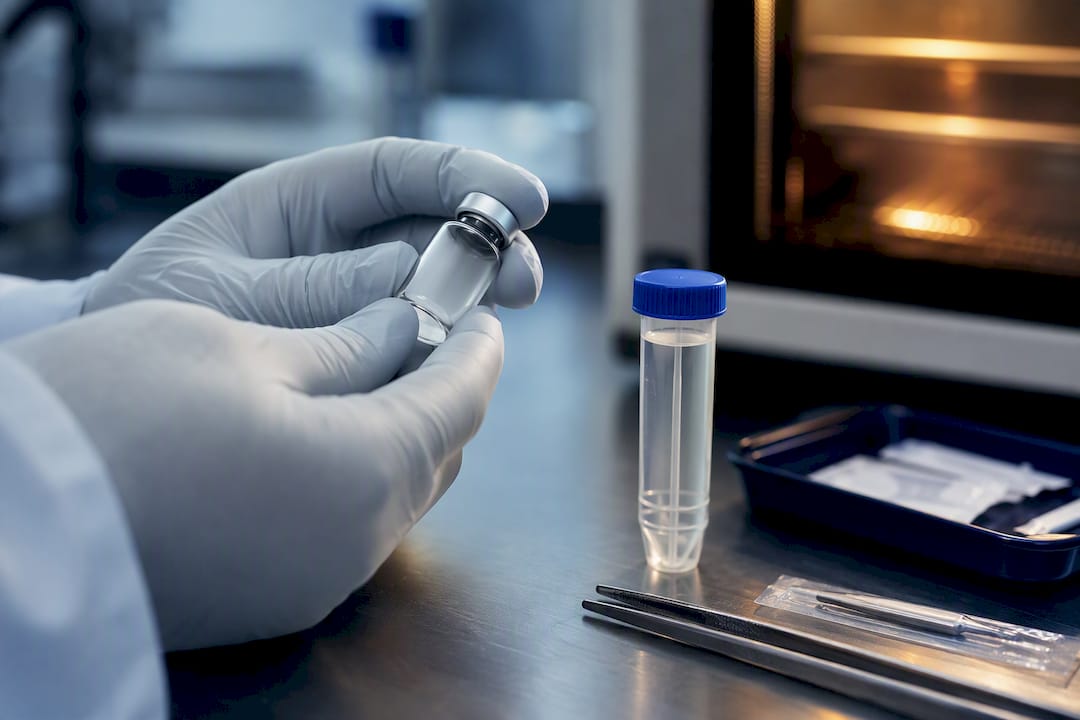
USP <71> is the compendial sterility test governing pharmaceutical and biological products, and it requires a 14 day incubation in two separate media before a sample can be called sterile. Most research peptide vials, including lyophilized powders with a clean HPLC purity certificate, are not sterile by default unless a lab has run this exact test on that batch. The practical rule for anyone handling peptides: check the certificate of analysis for a documented sterility result before assuming a vial is safe to use, and follow aseptic technique regardless of what the paperwork says.
TL;DR:
- Most peptide vials are not sterile by default; a documented sterility test must confirm their safety beyond HPLC purity certification.
- Filtration is generally preferred over direct inoculation for sensitivity, but it requires thorough rinsing to prevent false negatives caused by preservatives.
- Running the correct media, incubation, and sampling standards is crucial, and a product passing USP <71> does not guarantee absence of endotoxin.
- Method suitability testing with challenge organisms and validation are essential, especially when formulation changes occur or certification lacks validation data.
- Rapid microbe detection methods can screen early but cannot replace the full 14-day USP <71> test for final batch release.
Synthrolab
Research Peptides With Greater Confidence
Synthro Lab provides research-grade peptides and laboratory compounds for investigating cellular signalling, metabolism, recovery, and longevity mechanisms.
Explore Synthro Lab
Table of Contents
Sterility Testing Methods: Membrane Filtration and Direct Inoculation
USP <71> recognizes two ways to run a sterility test, and the choice between them depends heavily on what’s actually in the sample. Membrane filtration and direct inoculation are the two compendial methods, and for peptide research, filtration is the default unless the formulation makes it impossible.
Membrane filtration works by passing the entire sample volume through a filter that traps any microorganisms present, then incubating that filter in growth media. The standard pore size is 0.45 µm, small enough to catch bacteria and fungi but large enough to let a filterable liquid pass through at a reasonable rate. Here’s the actual workflow a lab technician follows:
- Prepare the filtration unit. Assemble a sterile, closed membrane filtration apparatus and confirm the filter is intact before starting.
- Filter the sample. Pass the full test sample through the 0.45 µm membrane under vacuum or positive pressure.
- Rinse the filter. Wash the membrane with a sterile diluent, typically several hundred milliliters, to flush out any residual antimicrobial or inhibitory compounds from the peptide formulation, preservatives, buffers, or bacteriostatic agents that could suppress microbial growth in the media and cause a false pass.
- Split the filter or transfer intact. Depending on the apparatus, the membrane is cut and each half placed into fluid thioglycollate medium (FTM) and soybean casein digest medium (SCDM), or the whole filter goes into a closed canister system that channels both media through it sequentially.
- Incubate and observe. Hold both media at their specified temperatures for 14 days, checking for turbidity or visible growth at intervals.
Filtration earns its place as the preferred method because it concentrates organisms from a larger sample volume onto a single trapping surface, which increases the odds of catching a low-level contaminant that direct inoculation might miss. The rinsing step matters as much as the filtration itself. Skip an adequate rinse and a peptide sample containing a bacteriostatic preservative can suppress any organisms trapped on the membrane, producing a clean result that reflects the antimicrobial, not the sample.
Direct inoculation skips filtration entirely. A measured volume of the sample goes straight into each growth medium. It’s simpler to execute and requires no filtration apparatus, but it comes with a real tradeoff: any inhibitory substance in the peptide solution, whether a preservative, a high peptide concentration, or a solvent, stays in the media at full strength and can mask contamination. Direct inoculation tends to get reserved for samples that can’t be filtered, viscous formulations, oil-based suspensions, or products where filtration would strip out the very organisms you’re trying to detect.
For a typical reconstituted research peptide solution, filtration usually wins on sensitivity. For a thick or emulsified formulation that clogs filters or resists membrane passage, direct inoculation becomes the only workable option, even though it sacrifices some detection power. A lab running sterility testing peptides work at any volume should default to filtration and only fall back to direct inoculation when the sample’s physical properties force the issue.
Running the test correctly means matching several fixed parameters that the compendium spells out in detail, and getting any one of them wrong invalidates the result.
- Media: Fluid thioglycollate medium (FTM) supports anaerobic and aerobic bacteria, while soybean casein digest medium (SCDM, also called TSB) supports aerobic bacteria and fungi. Both media run in parallel on every sample.
- Incubation: FTM incubates around 30 to 35°C; SCDM incubates around 20 to 25°C. Both hold for the full 14 day period specified by the test.
- Sample quantity: USP <71> sets minimum quantities based on container size and batch size, using sampling tables that scale the number of units tested to the total lot. A small research batch still requires a defensible sample size, not a single vial tested once and extrapolated.
- Growth promotion testing: Before any sterility test result means anything, the lab has to confirm the media itself can support microbial growth. This means inoculating fresh media with known low levels of standard organisms and confirming visible growth within the incubation window. A lab that can’t produce growth promotion data for the media batch used on your sample has skipped a required control.
- Reporting a pass: A satisfactory result under USP <71> means no contaminating microorganism was found under the specific conditions of that test, not that the product is guaranteed free of every possible contaminant forever.
That last point deserves emphasis because it’s where most misreadings happen. USP <71> is a qualitative, pass or fail test performed on a statistical sample of a batch, not an exhaustive screen of every unit. It also tells you nothing about endotoxin. A vial can pass sterility testing cleanly and still carry pyrogenic bacterial residue from dead organisms, which is a separate concern covered under a different test entirely. Regulatory bodies frame sterility testing as one piece of a broader quality picture, and FDA guidance treats it alongside environmental monitoring, aseptic process validation, and container closure integrity rather than as a standalone guarantee.
Method Suitability and Validation: Proving the Test Actually Works
A sterility test only means something if the lab has already proven the method can detect a live organism in that specific peptide matrix. This step, called method suitability, has to happen before or alongside the actual sterility test on a new product, and it’s the part most non-accredited operations skip or shortcut.
- Spiking with challenge organisms: Labs inoculate a parallel sample with low levels, typically fewer than 100 CFU, of standardized strains and confirm recovery. Common challenge organisms include Staphylococcus aureus ATCC 6538, Bacillus subtilis ATCC 6633, and Candida albicans ATCC 10231, chosen to represent gram-positive bacteria, spore-formers, and fungi respectively.
- Positive and negative controls: Every test run needs an unspiked negative control confirming the media stayed clean, and a positive control confirming the media can grow the challenge organism at all.
- Neutralizers and extra rinses: If a peptide formulation contains a preservative or antimicrobial excipient, the method suitability study has to demonstrate that rinsing or a neutralizing agent, sometimes beta lactamase for beta lactam residues, restores the media’s ability to detect the challenge organism at the required inoculum level.
- Re-validation triggers: A new peptide sequence, a changed buffer or preservative, a different container closure, or a new supplier batch with altered excipients all warrant re-running method suitability rather than assuming an old validation still applies.
Pro Tip: If a vendor’s certificate of analysis lists a sterility result but no corresponding method suitability data, ask for it directly. A sterility pass without proof the method could actually detect contamination in that matrix is not a meaningful result.
Reading a Positive Result: False Positives, False Negatives, and What to Do Next
Growth in a sterility test triggers a specific diagnostic sequence, not an automatic batch rejection, because contamination introduced during testing itself is common enough that labs have to rule it out first.
- Check the controls first. If the negative control also shows growth, the problem is likely in the testing environment or media, not the sample.
- Review environmental monitoring data from the day of testing, viable air counts, surface swabs, personnel monitoring, to see if a lapse coincides with the positive result.
- Identify the organism. Environmental contaminants recovered during sterility testing are frequently common skin or air flora rather than organisms that would plausibly originate from the product itself.
- Repeat the test when investigation supports it, using a fresh sample and documenting the rationale for the retest under USP <71>’s own provisions for invalidating a test due to a demonstrable testing error.
- Document everything regardless of outcome: the deviation, the investigation, the root cause, and the corrective action taken before the batch is either released or rejected.
Isolators reduce false positives more reliably than open biosafety cabinets or laminar flow hoods because they physically separate the sample from the operator and room air throughout the entire procedure. Industry technical guidance consistently points to isolators as the preferred containment for sterility testing precisely because they cut down the operator- and environment-driven contamination that produces spurious positives in open systems. False negatives run the other direction: a highly antimicrobial peptide formulation, an inadequate rinse step, or too small a sample volume can all let real contamination slip past undetected. Adequate rinsing and correct sample volumes aren’t procedural formalities. They’re the difference between a result you can trust and one that only looks clean.
Peptide-Specific Lab Practices That Actually Reduce Microbial Risk
A purity number on a certificate of analysis tells you almost nothing about whether a peptide is sterile. HPLC purity measures chemical composition, not microbial contamination, and lyophilized peptide powders are typically non-sterile unless a batch-matched sterility test says otherwise. Treat that distinction as a starting assumption, not an edge case.
Reconstitution is where most microbial risk gets introduced or controlled, depending on how it’s done. A defensible workflow looks like this:
- Use sterile water for reconstitution, or bacteriostatic water when the research protocol calls for extended storage, and confirm the diluent’s own sterility documentation.
- Use sterile, single-use syringes and needles for every reconstitution step, never a needle that has touched an unsterile surface.
- Pass the reconstituted solution through a 0.22 µm sterilizing-grade filter as a final risk-reduction step before storage or use.
- Store reconstituted peptides according to documented lyophilized peptide storage guidance, since improper storage conditions after reconstitution can compound whatever risk was already present.
That 0.22 µm filtration step deserves a caveat researchers often miss. Filtering through a 0.22 µm membrane removes viable bacteria and fungi from the solution, but it does not remove endotoxin, since endotoxin molecules are far smaller than the filter’s pore size and pass straight through. Filtration and bacteriostatic water are harm-reduction tools, useful and genuinely protective, but they are not a substitute for a documented USP <71> result on the batch. One reduces the chance of introducing new contamination during handling; the other proves the original material was clean.
Pro Tip: Build a five-point pre-use checklist and run it on every vial: confirm the COA lists a sterility method by name, check the test date against the manufacture date, confirm the testing lab’s accreditation, follow a written reconstitution SOP rather than an improvised process, and store the reconstituted solution exactly as directed.
Rapid Microbial Methods: Useful for Screening, Not a Substitute
ATP bioluminescence, PCR, and flow cytometry all give researchers a faster read on microbial presence than the 14 day compendial test, and each has a legitimate place in a peptide lab’s workflow, just not as a release decision on their own.
- ATP bioluminescence detects a byproduct of living cell metabolism and can flag contamination within 24 to 48 hours, making it useful for early screening of incoming raw materials or in-process checks.
- PCR detects microbial DNA, which means it can pick up genetic material from dead organisms and produce a positive result with no viable contamination present.
- Flow cytometry counts and characterizes cells rapidly but requires careful gating to distinguish live microbial cells from debris or peptide aggregates in solution.
- Regulatory standing: none of these methods currently substitute for USP <71> at final release. They function as supplementary early-warning tools that let a lab catch a problem days before the compendial result comes back.
A sound workflow runs rapid screening on incoming materials or in-process samples to catch gross contamination early, then confirms release-quality batches with the full 14 day USP <71> test regardless of how clean the rapid screen looked.
What a Trustworthy Certificate of Analysis Should Include
A COA that actually supports a sterility claim names the test method, states the testing lab and its accreditation, and lists the batch ID alongside a test date reasonably close to the manufacture date, generally within about 30 days. It should also include growth promotion or method suitability data proving the test could detect contamination in that specific matrix. ISO/IEC 17025 accreditation is the marker to look for when confirming the testing lab itself meets recognized competency standards, rather than being an in-house or unaccredited operation.
Sterility and endotoxin are two different tests measuring two different risks, and a sterility pass never implies a pyrogen-free result. Watch for these red flags on any vendor documentation:
- The word “sterile” appears with no named method, no lab, and no batch-specific data behind it.
- Only a rapid screening result (ATP, PCR) is reported, with no corresponding USP <71> data.
- The testing lab isn’t named or isn’t accredited.
- The test date is months or years removed from the batch’s manufacture date.
Why Sterility Testing Deserves More Attention Than Purity Data Gets
The gap in most sterility testing advice isn’t the science, it’s the assumption that a peptide vial’s job is done once purity is confirmed. Purity and sterility measure completely different things, and treating a high HPLC number as a proxy for microbial safety is the single most common mistake researchers make when handling reconstituted peptides.
Conventional advice tends to stop at “filter your solution and you’re fine.” That’s incomplete. Filtration through a 0.22 µm membrane is real risk reduction, but it can’t retroactively sterilize a vial that was never tested, and it does nothing for endotoxin. The researchers who get this right treat COA verification as a first-class step, not paperwork to skim past, and they build reconstitution habits that assume contamination risk exists until proven otherwise.
If there’s one priority to take from this, it’s sequencing: verify the sterility documentation before you reconstitute, not after you notice something looks off in culture. Everything downstream, filtration, storage, handling, is damage control if that first check gets skipped.
— Mitch
Sources
Recommended
 21+ verification