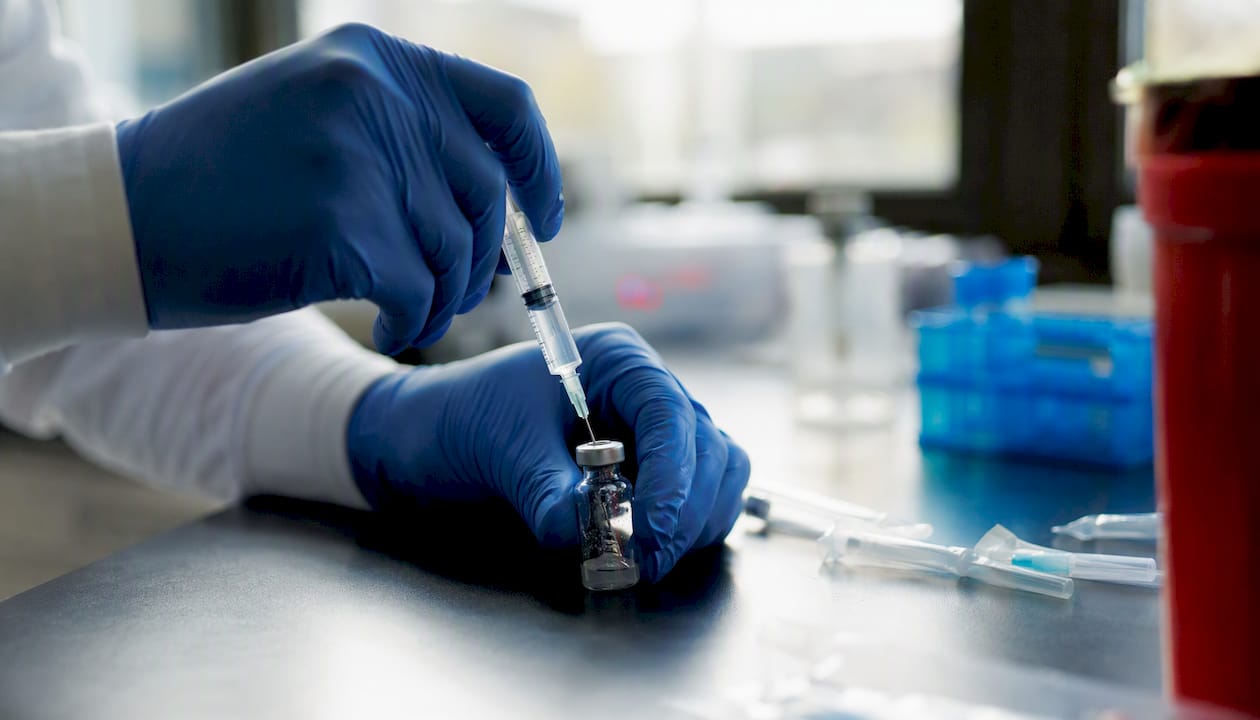
The volume of solvent you add equals the peptide mass in milligrams divided by your desired concentration in mg/mL. That single line is the entire math problem behind peptide reconstitution, and everything else in this guide builds on it.
Say you have a 10 mg vial and you want a 5 mg/mL solution. You add 2 mL of solvent (10 mg ÷ 5 mg/mL = 2 mL). Draw the diluent into a syringe, let it run down the inside wall of the vial, swirl gently until the cake dissolves, and you have a working solution ready for dosing calculations.
- Formula: Volume to add (mL) = peptide mass (mg) ÷ desired concentration (mg/mL)
- Worked example: 10 mg peptide, target 5 mg/mL → add 2 mL bacteriostatic water
- Result: Each 0.1 mL (10 units on a U-100 insulin syringe) delivers 500 mcg
Quick reference: A 10 mg vial reconstituted with 2 mL of bacteriostatic water yields a 5 mg/mL solution, roughly a 28-day usable window when refrigerated and handled correctly.
Pro Tip: Pick a concentration that lands your typical dose on a clean syringe mark, like 10, 20, or 50 units, instead of an awkward number like 13.7. It’s the single easiest way to cut measurement errors on the bench.
These products and compounds are sold and intended strictly for laboratory research. Follow your institution’s biosafety committee (IBC), IRB policies, and standard aseptic technique before handling any lyophilized peptide.
Key Takeaways
Correct peptide reconstitution comes down to one formula, three technique rules, and a conservative approach to storage and troubleshooting.
| Point |
Details |
| Core formula |
Volume (mL) = peptide mass (mg) ÷ desired concentration (mg/mL); recalculate for every new vial. |
| Pick clean syringe units |
Choose a concentration where your typical dose lands on a whole-number syringe mark. |
| Technique over force |
Use bacteriostatic water, add diluent down the vial wall, and swirl instead of shaking. |
| Storage discipline |
Refrigerate at 2 to 8°C, avoid freeze-thaw cycles, and discard past the 28-day window. |
| Source verification |
Synthrolab provides batch-tested, COA-backed research peptides and matching reconstitution supplies. |
Table of Contents
How Does the Peptide Reconstitution Math Actually Work?
Once you understand the base formula, three related conversions handle almost every real-world scenario you’ll hit at the bench.
The first rearrangement gives you concentration directly: concentration (mg/mL) = peptide mass (mg) ÷ volume added (mL). Flip it again and you get dose volume: mL per dose = desired dose (mcg) ÷ concentration (mcg/mL). That third form is what actually matters when you’re drawing up a syringe, because doses are almost always specified in micrograms, not milligrams.
Unit conversion trips up more people than the math itself. One milligram equals 1,000 micrograms. On a standard U-100 insulin syringe, 1 unit equals 0.01 mL. So once you know your concentration in mcg/mL, you can convert straight to syringe units with one more division. A calculator-style formula collapses all four steps into a single line: units = (desired mcg ÷ (peptide mg × 1,000)) × bac water mL × 100.
Here’s how that maps onto common syringe sizes:
Three worked examples cover most of what you’ll encounter in practice:
- 5 mg vial reconstituted with 2 mL gives 2.5 mg/mL, or 2,500 mcg/mL. A 250 mcg dose requires 0.1 mL, which is 10 units on a U-100 syringe.
- 10 mg vial reconstituted with 2 mL gives 5 mg/mL, or 5,000 mcg/mL. A 250 mcg dose requires 0.05 mL, or 5 units.
- 10 mg vial reconstituted with 5 mL gives 2 mg/mL, or 2,000 mcg/mL. A 500 mcg dose requires 0.25 mL, or 25 units.
Notice how the same 10 mg vial produces completely different dosing volumes depending on how much diluent you add. That’s the entire point of choosing your reconstitution volume deliberately rather than defaulting to whatever’s convenient.
- Always convert mg to mcg before dividing by a mcg-based dose.
- Confirm your syringe’s unit scale (U-40 vs. U-100) before drawing any volume.
- Recalculate from scratch any time you change vial size or target concentration. Never eyeball it from memory.
What Is the Sterile Reconstitution Procedure at the Bench?
A reproducible sterile technique matters as much as the arithmetic. Get the math right and botch the aseptic handling, and you’ve compromised the sample anyway.
Before touching a vial, confirm three things: the label matches your intended peptide and mass, the certificate of analysis (COA) is on file and current, and the vial hasn’t passed its expiration date. Sanitize your workspace, put on gloves and eye protection, and let both the lyophilized vial and the diluent reach room temperature. Cold solvent hitting a cold peptide cake dissolves more slowly and increases the chance of clumping.
- Swab the vial stopper and the diluent vial’s rubber top with a 70% isopropyl alcohol wipe and let it dry.
- Draw your calculated diluent volume into a syringe fitted with an appropriately sized needle (a 20 to 25 gauge draw needle works for most vial sizes).
- Insert the needle at an angle and let the diluent run down the interior glass wall of the vial rather than spraying it directly onto the lyophilized cake.
- Withdraw the needle, then gently swirl or roll the vial between your palms. Do not shake it.
- Check visually for full dissolution: the solution should be clear with no visible particulates, unless the peptide’s own reference data notes expected turbidity.
- Label the vial immediately with the date, calculated concentration, and diluent used.
That gentle-swirl, wall-pour technique is doing more work than it looks like. Spraying diluent directly onto the cake and shaking the vial afterward account for a large share of preventable denaturation events in routine lab handling, and both are avoidable with a five-second change in technique.
Pro Tip: If you see foam or persistent microbubbles after swirling, let the vial sit undisturbed for a few minutes at room temperature before drawing your dose. Agitating a foamy solution further only introduces more air and risks shearing the peptide.
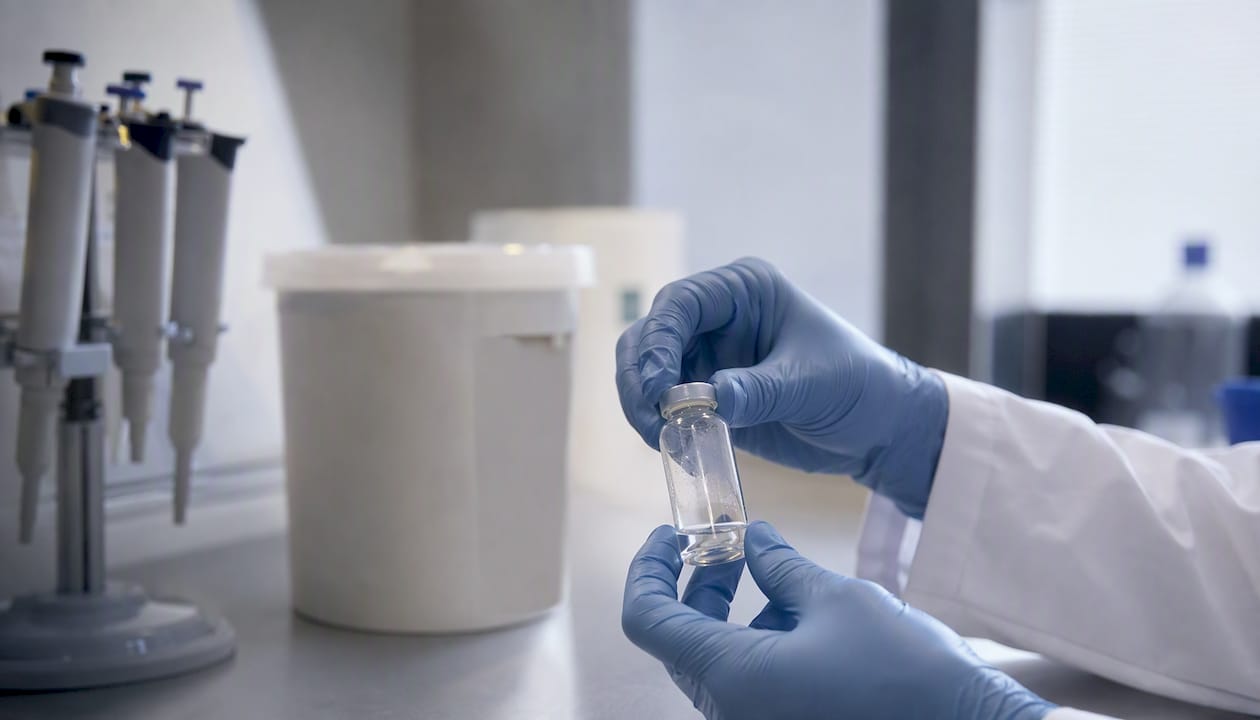
Use a fresh needle for every draw, since repeated punctures dull the tip and can push rubber particulates into the solution. Contaminated vials, used needles, and any syringe that touched a compromised sample go straight into a sharps container or chemical waste stream per your institution’s disposal protocol, not a regular trash bin.
Which Solvent Should You Use to Reconstitute a Peptide?
Bacteriostatic water is the default choice for any vial you plan to draw from more than once. The 0.9% benzyl alcohol preservative it contains inhibits bacterial growth, which is what makes a multi-dose vial usable across a multi-week window instead of requiring disposal after a single draw.
Sterile water for injection (SWFI) and 0.9% sodium chloride (sterile saline) both work well for single-use applications, but neither contains a preservative. Once you reconstitute with SWFI or saline, treat the vial as good for that session only, then discard it. Saline has the added benefit of matching physiological osmolarity, which matters more for certain in vitro or cell-culture applications where an isotonic environment is part of the experimental design.
DMSO (dimethyl sulfoxide) enters the picture when a peptide simply won’t dissolve in an aqueous solvent, which happens often with highly hydrophobic sequences or peptides carrying significant nonpolar side chains. DMSO dissolves almost anything, but it comes with two catches: it has notable absorbance in the UV range that interferes with spectroscopic readouts like circular dichroism, and it isn’t something you inject or apply directly in most downstream assays without further dilution or exchange into an aqueous buffer.
| Solvent |
Best use case |
Key limitation |
| Bacteriostatic water |
Multi-dose vials, repeated draws |
Contains benzyl alcohol; avoid in benzyl alcohol sensitive assays |
| Sterile water for injection |
Single-use, preservative-free needs |
No antimicrobial protection after opening |
| 0.9% sodium chloride |
Isotonic applications, single-use |
No preservative; discard after one session |
| DMSO |
Poorly soluble or hydrophobic peptides |
High UV absorbance; requires exchange for spectroscopy |
Pro Tip: When a peptide resists aqueous solvents, add a small volume of DMSO first to fully dissolve it, then dilute stepwise into your aqueous buffer of choice. Adding DMSO after the aqueous solvent, rather than before, tends to produce a cloudier, less stable solution.
What Are Common Reconstitution Volumes and Worked Examples?
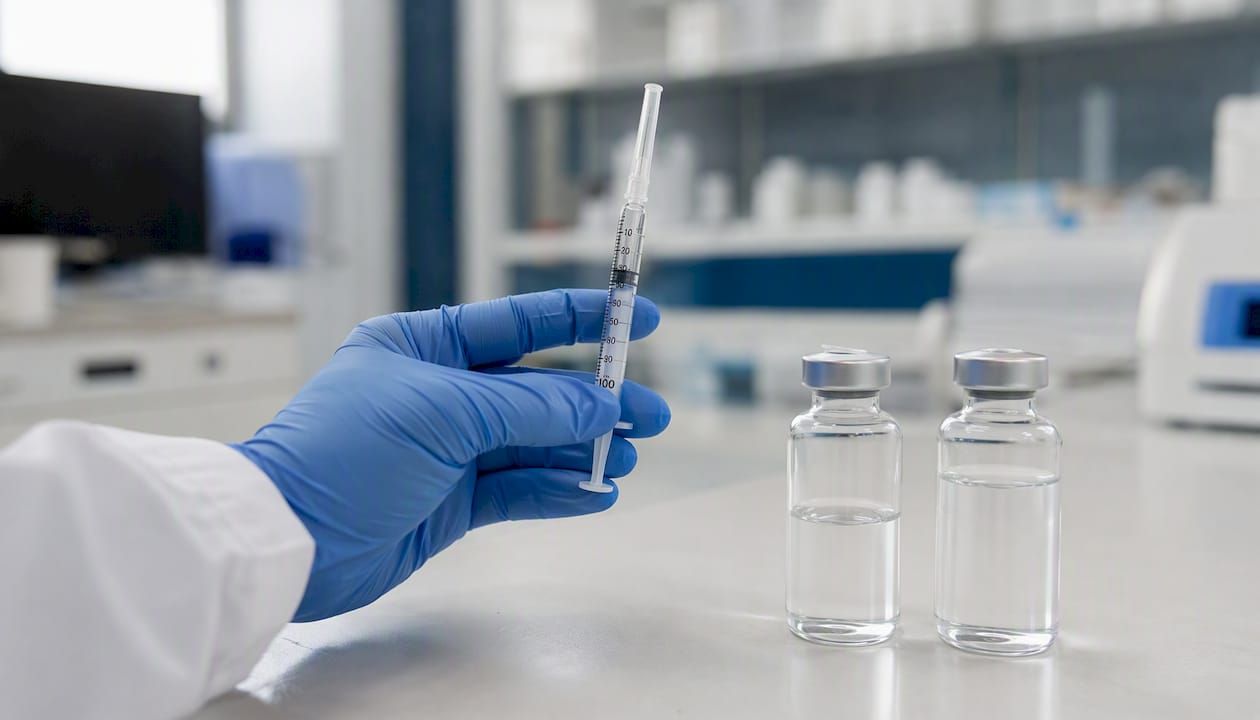
Choosing the right reconstitution volume is less about a fixed rule and more about landing your typical research dose on a clean, easy-to-read syringe mark. Doses that fall in the 10 to 50 unit range on a standard U-100 insulin syringe are generally easiest to measure accurately, and picking your diluent volume with that target in mind cuts down on the kind of rounding error that compounds across repeated experiments.
For a 5 mg vial, 1 to 2 mL of bacteriostatic water is typical. Two milliliters gives you a more dilute, easier-to-measure solution at 2.5 mg/mL. For a 10 mg vial, 2 mL yields 5 mg/mL, while 5 mL yields a more dilute 2 mg/mL, useful when your target doses run smaller.
| Vial mass |
Added volume |
Final concentration |
Example dose |
Units delivered |
| 5 mg |
2 mL |
2.5 mg/mL (2,500 mcg/mL) |
250 mcg |
10 units |
| 10 mg |
2 mL |
5 mg/mL (5,000 mcg/mL) |
250 mcg |
5 units |
| 10 mg |
5 mL |
2 mg/mL (2,000 mcg/mL) |
500 mcg |
25 units |
A retatrutide worked example follows the same logic. Take a 10 mg vial reconstituted with 2 mL of bacteriostatic water, giving 5 mg/mL, or 5,000 mcg/mL. A research dose of 500 mcg requires 0.1 mL, which reads as 10 units on a U-100 insulin syringe, a clean number that’s easy to verify visually before every draw.
Quick copy-ready recipes for common scenarios:
- Low-dose research protocol: 5 mg vial + 2 mL BWFI = 2.5 mg/mL; 100 mcg dose = 4 units.
- Mid-range dosing: 10 mg vial + 2 mL BWFI = 5 mg/mL; 250 mcg dose = 5 units.
- Diluted, higher-precision protocol: 10 mg vial + 5 mL BWFI = 2 mg/mL; 200 mcg dose = 10 units.
If your target doses don’t land cleanly on a syringe mark using these standard volumes, adjust the diluent volume rather than trying to eyeball a fractional unit. Half a unit on an insulin syringe is genuinely difficult to measure with confidence.
How Long Does a Reconstituted Peptide Last in Storage?
Refrigerate reconstituted peptide solutions at 2 to 8°C, and keep them there consistently. Most synthetic peptides reconstituted in bacteriostatic water hold a usable window of about several weeks under refrigerated storage, though that number is a conservative ceiling, not a target to push toward.
Recombinant proteins and peptides prone to oxidation, particularly those containing methionine or cysteine residues, often need a shorter window closer to 14 days. Treat any peptide you haven’t validated stability data for as belonging to the conservative, shorter category until proven otherwise. Never freeze a reconstituted solution and thaw it later for use. The freeze-thaw cycle introduces mechanical stress at the ice crystal boundary that can fragment or aggregate peptide chains, and there’s no way to visually confirm the damage before you’ve already dosed or run the assay.
- Label every vial immediately with the reconstitution date, calculated concentration, diluent used, and a discard-by date.
- Aliquot larger reconstituted volumes into single-use portions if your protocol calls for repeated freeze-avoidant handling, drawing only what you need for one session.
- Protect vials from direct light during storage, especially for light-sensitive compounds.
- Discard any vial past its calculated window, regardless of how it looks, and log the disposal.
Pro Tip: If you’re running a multi-week study, aliquot your reconstituted stock into single-dose portions on day one rather than repeatedly puncturing one vial. Fewer needle punctures mean less risk of introducing contamination over the storage window, and it keeps your remaining stock protected even if one aliquot goes bad.
Why Won’t My Peptide Fully Dissolve, and What Should You Try Next?
A cloudy or incompletely dissolved solution after a gentle swirl isn’t a dead end, but it does mean something in the process needs attention before you proceed.
First, rule out the easy explanations. Check that the vial isn’t expired, that the lyophilized cake wasn’t hygroscopic and already partially degraded from moisture exposure, and that you used the diluent your protocol actually specifies. A peptide formulated for reconstitution in bacteriostatic water may behave differently in plain sterile saline, particularly around pH sensitivity.
- Let the vial sit at room temperature for 10 to 15 minutes after the initial swirl. Some peptides simply need more time to fully hydrate.
- Roll the vial gently between your palms rather than swirling harder. Increased force doesn’t speed dissolution and risks mechanical stress on the peptide.
- If particulates or persistent cloudiness remain, add a small volume of DMSO directly to help solubilize the hydrophobic fraction, then dilute stepwise into your aqueous buffer.
- Brief, low-speed sonication or a short spin in a benchtop centrifuge can resolve stubborn aggregates, but avoid autoclaving or exposing the peptide to extreme pH shifts unless you’ve validated that the specific peptide tolerates it.
A peptide that won’t dissolve after a reasonable troubleshooting sequence is telling you something about its formulation, purity, or storage history. Discarding a suspicious vial costs you the price of the product. Running a compromised sample through a multi-week assay costs you the entire experiment.
- Record every manipulation, including failed attempts, in your experiment log. Reproducibility depends on knowing exactly what you tried.
- Never assume a partially dissolved solution will “even out” once diluted further into an assay buffer. Undissolved peptide doesn’t disappear, it just becomes harder to see.
- If a batch shows recurring solubility problems across multiple vials, flag it and check the COA and purity documentation before assuming the technique is at fault.
How Do You Move a Peptide From DMSO Into an Aqueous Buffer for Spectroscopy?
Some analytical work, circular dichroism (CD) spectroscopy in particular, can’t tolerate DMSO’s background absorbance in the sample. When a peptide requires DMSO to dissolve in the first place but your downstream method requires an aqueous buffer, a published solvent-exchange protocol offers a validated path forward.
The method uses vapor-diffusion evaporation to pull DMSO out of a peptide sample without ever exposing the peptide to harsh aqueous conditions directly.
- Place 2 to 4 μL droplets of your DMSO-solubilized peptide onto a coverslip.
- Position the coverslip over a well containing 60% NH4NO3 (ammonium nitrate) solution, sealed to allow controlled vapor exchange.
- Incubate for up to 16 hours at 25°C, during which the NH4NO3 solution’s vapor pressure draws DMSO out of the droplet, leaving behind a dried peptide film.
- Reconstitute the dried peptide directly in 20 mM Tris buffer at pH 7.5 with 100 mM NaCl, the aqueous system used for the CD measurement itself.
This approach makes sense specifically when DMSO’s spectroscopic interference is the limiting factor, not for routine dosing or general dilution work. If your downstream application tolerates a small residual DMSO fraction, a straightforward stepwise dilution into aqueous buffer is faster and simpler. Save the vapor-diffusion method for cases where DMSO background genuinely blocks your readout.
The original protocol notes that peptide stability at room temperature over the full 16-hour incubation is a real limitation worth watching, and that low-solubility peptides may not fully reconstitute even after successful DMSO removal.
Pro Tip: If your peptide shows any thermal instability, run the vapor-diffusion incubation at 4°C instead of 25°C. It extends the exchange time somewhat but meaningfully reduces the risk of degradation during the longer incubation window.
What Safety Steps Belong in Every Peptide Reconstitution Workflow?
Every product discussed in this guide is intended for laboratory research use only, not for human or veterinary administration outside a properly authorized clinical protocol. Follow your institutional biosafety committee (IBC) guidelines, and where human-subject or clinical-adjacent work is involved, your IRB’s requirements, before beginning any reconstitution work.
Basic PPE isn’t optional. Gloves, eye protection, and a lab coat form the minimum standard for any bench work involving needles, solvents, and biological materials. Sharps, including any needle that’s touched a vial or solution, go into a rigid sharps container immediately after use, never recapped by hand.
- Segregate chemical waste by category. DMSO and NH4NO3 solutions typically require separate disposal streams from standard biological waste, per your institution’s environmental health and safety office.
- Document every reconstitution event: date, operator, vial lot number, diluent, and calculated concentration, in a format your institution’s audit process can review.
- Discard any vial with a compromised stopper, visible contamination, or an expired discard-by date rather than attempting to salvage it.
- Wipe down and sanitize the bench workspace between different peptide products to avoid cross-contamination.
Regulatory and legal specifics around peptide handling and use vary by institution and jurisdiction. This guide is not a substitute for your institution’s own biosafety, chemical hygiene, and IRB or IBC policies, and clinical-grade workflows carry additional requirements that fall outside the scope of standard research bench practice.
What Mistakes Do Lab Technicians Make Most Often With Peptide Reconstitution?
The same three errors show up again and again across research benches, and none of them require special equipment to fix.
The first is shaking instead of swirling. It’s an instinct, especially for anyone used to mixing powdered supplements or reconstituting something in a kitchen context, but a vigorously shaken peptide solution denatures at a meaningfully higher rate than one that’s been gently rolled. The second is picking a reconstitution volume without thinking about the syringe you’ll actually use, which produces awkward fractional doses that different technicians round differently, quietly introducing variance into a study that’s supposed to be controlled. The third is skipping the concentration recalculation when switching vial lots, assuming last month’s numbers still apply.
A short checklist covers most of what a new team member needs on day one:
- Verify the COA against the vial label before opening anything.
- Choose a target concentration that maps cleanly to your syringe’s unit markings.
- Label every vial the moment it’s reconstituted, not at the end of the session.
- Log the discard-by date somewhere the whole team can see it, not just on the vial itself.
Pro Tip: Write the units-per-dose directly on the vial label alongside the discard date. It turns a math problem into a glance, which matters most on the tenth vial of a long bench session when fatigue starts affecting judgment.
None of this is complicated. It’s discipline applied consistently, and it’s the difference between data you can trust and a result you’ll spend a week second-guessing later.
Where Can You Source Research-Grade Peptides and Reconstitution Supplies?
Getting the math and the sterile technique right only matters if the peptide itself is what the label says it is. Synthrolab supplies research-grade peptides with independent batch testing and certificates of analysis on file, alongside the bacteriostatic water, syringes, and alcohol swabs that turn a lyophilized vial into a usable working solution.
If you’re setting up a new bench workflow or restocking supplies, the peptide quality and purity guide is a practical starting point for understanding what a genuine COA should show before you commit a reconstitution calculation to it. All products are sold strictly for laboratory research use, not for human or veterinary consumption, and any use involving human subjects should go through your institution’s IRB and IBC review first. Check current lot availability and COA documentation before placing an order.
Frequently Asked Questions
What is the standard formula for peptide reconstitution?
Concentration (mg/mL) equals peptide mass in milligrams divided by the volume of diluent you add. Rearranged, volume to add equals peptide mass divided by your target concentration.
How much bacteriostatic water do I add to a 10 mg peptide vial?
It depends on your target concentration. Adding 2 mL gives you 5 mg/mL, a common choice that maps cleanly to insulin-syringe units for typical research doses in the 100 to 500 mcg range.
Can I use sterile saline instead of bacteriostatic water?
Yes, but only for single-use applications. Sterile saline contains no preservative, so any vial reconstituted with saline should be used in that session and not stored for repeated draws.
When should I use DMSO instead of bacteriostatic water?
Use DMSO when a peptide resists dissolving in aqueous solvents due to hydrophobic sequence content. Dissolve fully in DMSO first, then dilute stepwise into your aqueous buffer if the downstream application allows residual DMSO.
How long can I store a reconstituted peptide?
Most synthetic peptides in bacteriostatic water hold roughly several weeks refrigerated at 2 to 8°C. Oxidation-prone peptides and recombinant proteins often need a shorter window, closer to 14 days.
Why is my reconstituted peptide cloudy or not fully dissolved?
Check vial expiration and diluent choice first, then allow more time at room temperature, roll gently, or add a small DMSO fraction before diluting. Persistent cloudiness after these steps warrants discarding the vial.
Is this reconstitution guidance for clinical or human use?
No. This guidance applies to laboratory research use only. Any application involving human subjects requires your institution’s IRB and IBC approval and should follow clinical-grade protocols beyond the scope covered here.
Sources
Recommended
 21+ verification